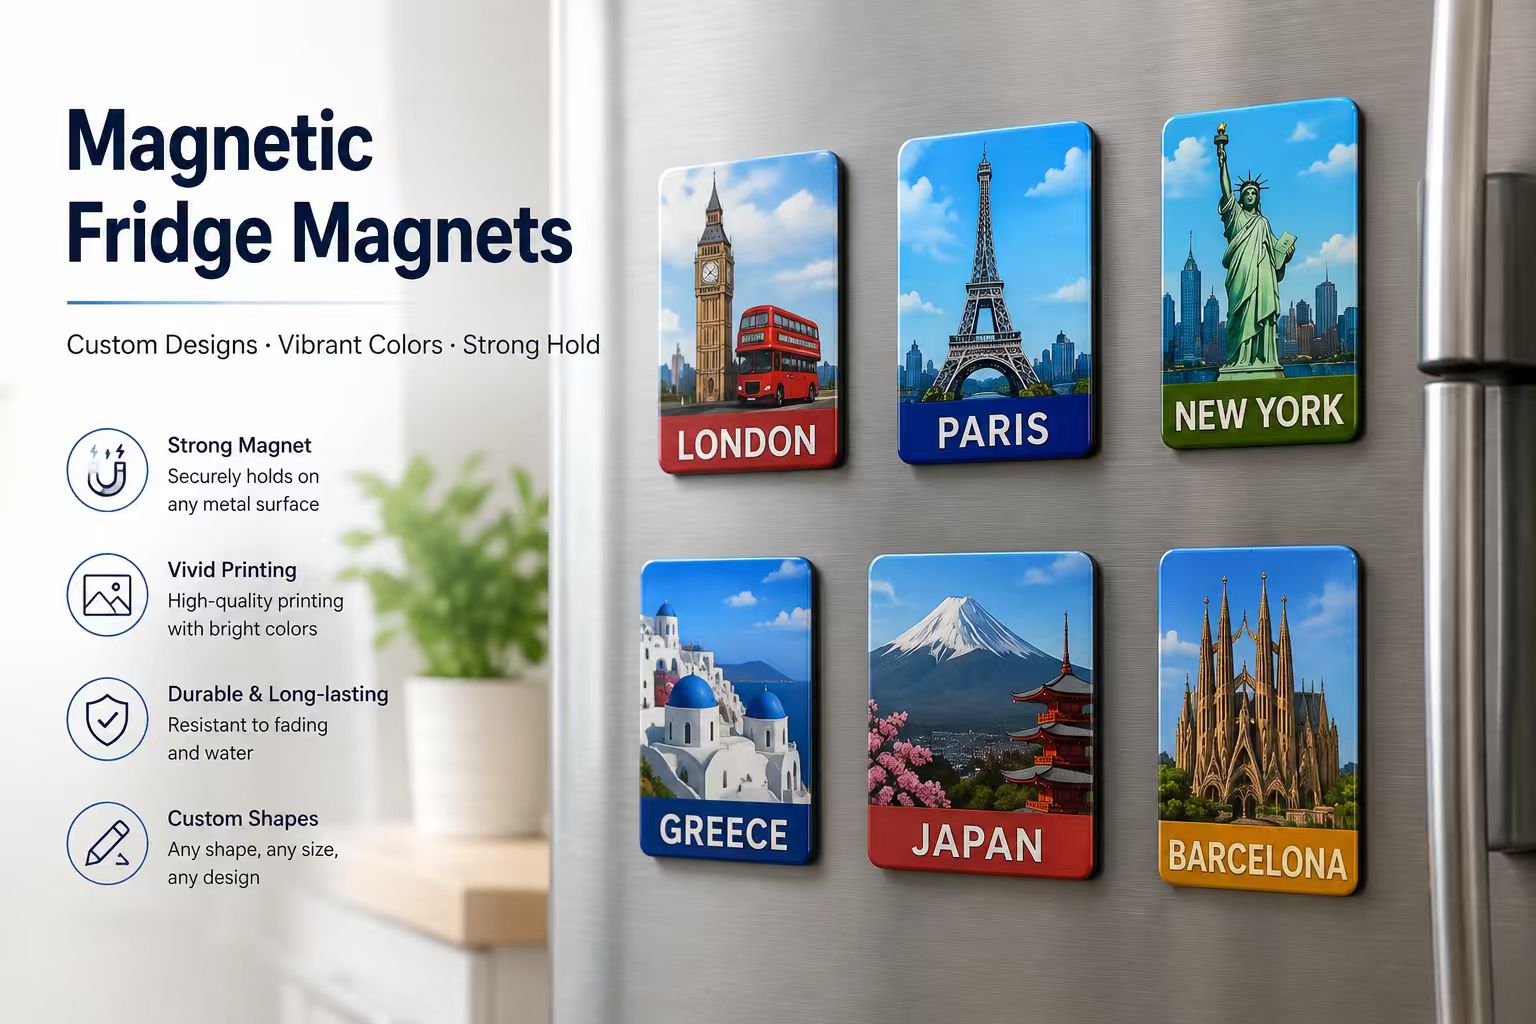
Step 1: Start With Your Design
Customization starts with artwork. Vector files (AI, EPS, PDF) are best — they scale to any size without quality loss. If you only have a sketch or idea, our design team will develop it for you free of charge.
Step 2: Choose Shape & Size
Your shape drives both cost and appeal. Die-cut custom outlines stand out but require mold/tooling; classic round and rectangle shapes are the most economical. Common sizes range from 5cm to 8cm for retail magnets.
Step 3: Pick Your Material & Finish
The material determines the look, feel and price: magnetic paper (economy, full color), soft PVC (3D detail), hard enamel (premium vintage look) or acrylic (modern clear finish). Your target retail price should guide this choice.
Step 4: Printing & Color Matching
UV digital printing gives full-color at no setup cost. Silk screen and hard enamel are better for Pantone-matched brand colors. Always request a digital proof before production.
Step 5: Packaging That Sells
Retail packaging can double your perceived value. Blister cards and window boxes outperform plain poly bags — and they protect the product during shipping and handling.
Ready to customize?
Send your artwork to our quote form for a free digital mockup within 48 hours.